all lined up to go

I breathed a small sigh of relief today, after finally getting the skirt shell sewn together for my sister’s wedding. It fits. Thank goodness. Always a risk if you make a toile from another fabric that it can stretch more. I’m off to get another (invisible) zip tomorrow as the standard one just isnt neat enough.

The whole thing will look better once lined, as despite pressing it still rumples a little, but crepe is a bit of a sensitive customer. I appear to have improve my top stitching skills (yay!) and I think the white contrasts very nicely with the green.

So, here are some photos.

ImageImageImageImage more pressing to do. The jacket has been shoved around a bit and it really shows! next job, cut out and sew all the lining for both pieces.

I’ve gone all dotty

I am a sucker for leftover fabric. It calls to me, pleads not be wasted. Gives me “save me” looks. Tugs at my heart strings and frequently ends up costing me more money when I try and find a use for it. My current project is no exception. I have had the misfortune of having not just one but TWO projects result in lots of excess leftover fabric.

The result is two entire extra garments (I cant help myself). Here is one of them, a nice simple pencil skirt. Except  I had to decide to add a lining and also add piping. At least the extra fabric and notions were not all too expensive. After wrestling with the cord and being reminded why I don’t like piping I was finally able to see where I was headed. I’ve moved the side zip to the centre back and quickly pinned the hem up and basted the back centre seam together.

I must say, I have grown to be a real fan of boucle wool. The stuff drapes beautifully, presses like a dream and is surprisingly crisp to cut out. I’ve also found the perfect silk polka dot lining to go with it. You’ll understand why I had to purchase it, it matches perfectly with the boucle. I’ve sewn everything otherwise straight from the enveope. No lengthening needed. Amazing.  This never happens! just need to now hem it properly, and add the zip and lining.

ImageImageImage

let the sun always shine….

Image

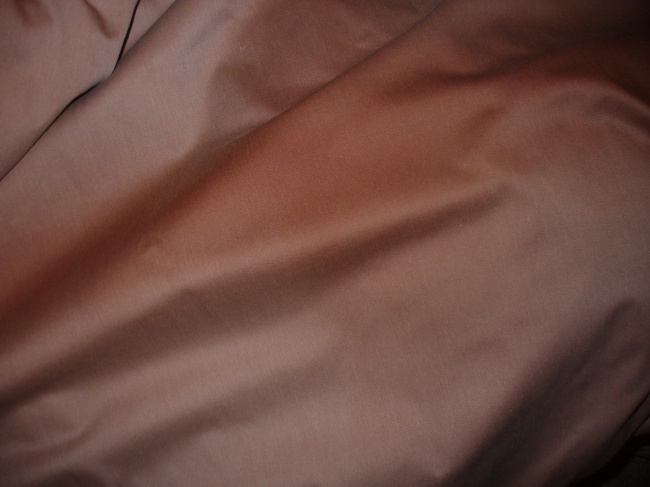
This fabric has a History. A rather sad one in fact. Originally the yellow fabric was going to be used for my dressmaking course to make a dress I had designed and drafted. Alas, my inexperienced dye job went rather badly and I ended up with an inconsistent colour. I spent a rather horrendous amount of time and money trying to dye it to a more solid shade. It was not to be.

With some no little frustration and annoyance I put it to one side, determined at some future stage to use it and create something more positive out of it. Fast forward the clock. Before starting the outfit for my sister’s wedding I decided something simpler was in order as a quick break (I have just finished making the toile). 

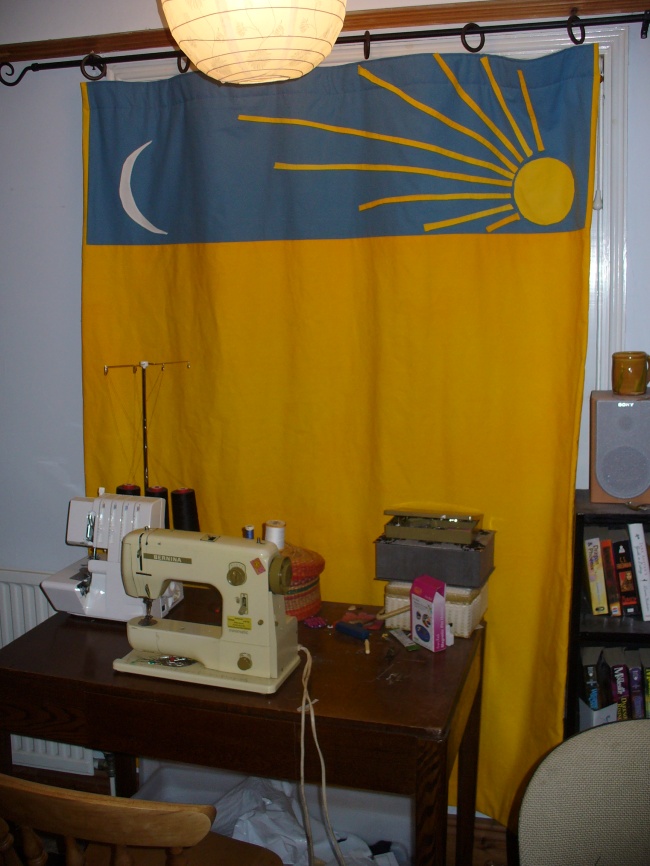
I decided to make the curtain I had originally envisaged. I went out and spent (yet more) money on additional supplies. Hooks, rings, blackout fabric (and because the fabric wasn’t long enough for the drop) contrasting fabric.

It then became more decorated as the days went by, I thought merely two colours were a little dull. So I decided when I get up I should always see the sun shining regardless of the day outside. Also when I go to sleep the moon will come out to watch over me…..

This has just worked as I had to create very narrow seam allowances (the width of the blackout was 1.38 meters, just the finished width I intended to have. I’ve overlocked all the insides to ensure nothing frays.

To give you an idea of how overdue this was, here’s what it has replaced…as you can see its horribly sun faded.

Image

I think it suits me!

I’ve sewn the jacket together (bar the lining and the collar facings) and can now see the final effect. I’m pleased to report I’m feeling much more positive and enthusiastic about the outfit now I can see it with the jacket.

The jacket does a good job of highlighting the waist and I just love that peplum. A few tweaks for the final version are required. The sleeves need to a smidge longer (I used a 2cm hem allowance to cheat) and I took in the side seams tapering out to a quarter inch from the under arms to the waist to create zero ease in this area.

The jacket was MUCH easier to put together than the skirt. I can also already see this is going to go really well with some of my existing wardrobe (which was the whole idea of getting more wear out of this than just for my sister’s wedding).

Some creative photography was required, as my housemate is currently asleep and the light was fading fast. Given the awful lighting conditions yesterday inside later in the evening, I grabbed the camera to take some photos outside before it got too dusky. I do love that front door….

P1040427

P1040428

trying to look elegant (not easy when taking your own photos!)

trying to look elegant (not easy when taking your own photos!)

the skirt in better lighting


P1040432 P1040433